Let`s start...
There`s a lot of different ways to post process an image in various image editing software. But if we prepare ourselves for a photo shoot before we start taking pictures, we can really reduce the amount of post processing to minimum.
You should ask yourself what kind of image you are expecting...natural look, rough look, sweet look... If you are shooting a girl and want a soft and natural look, you should use a soft light which can be achieved with use of diffusers and reflectors. The harsh and sharp shadows aren`t flattering for a girls face.
You should pay a lot attention on make-up. Make up is the second thing that can reduce the post processing, but can also ruin the photograph completely if used incorrectly or in insufficient amounts. I don`t have to think about that at all, because Veronika, my girlfriend, takes care of it. And she sure knows how to do it! She`s great at it!
When I`m all set up, I start taking photos.
When I`m done with shooting, I import all images in Lightroom. I shoot everything in raw, so I get as much detail in the shots as I can. I briefly browse all the photos and flag the ones that I like. Than I choose the best out of the flagged ones and convert it to psd format. I than open that file in PS CS2.
Here`s the workflow in PS:
1. Duplicate layer. Image -> Adjustments -> Levels (or auto levels, if I like it))
healing brush settings
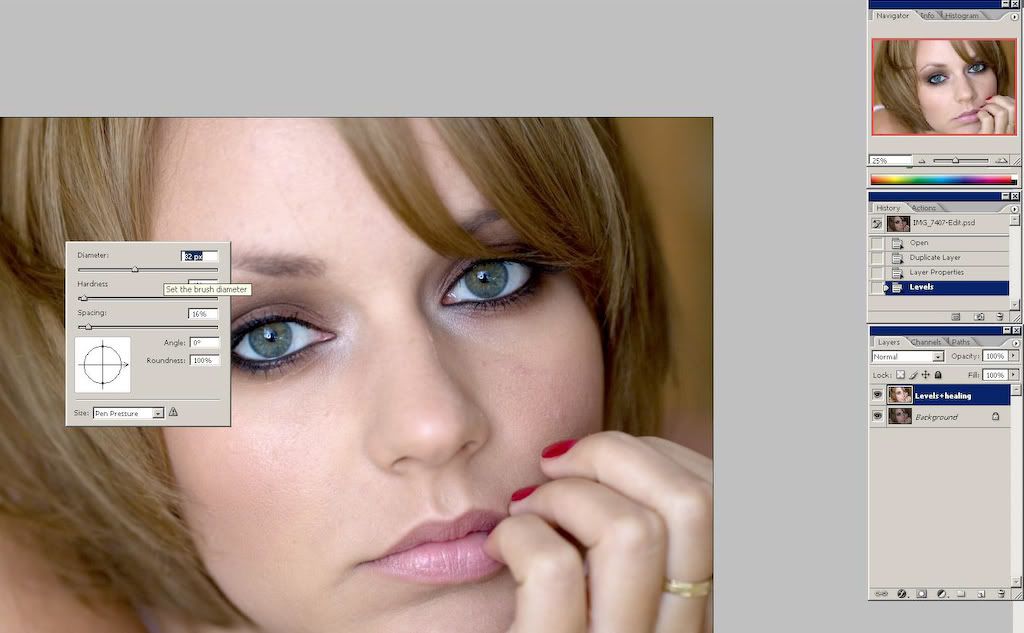
2. I remove the biggest imperfections on the layer on which I applied auto levels. I use healing brush mostly, but can also use cloning stamp with mode "lighten" at around 15% opacity.
roughly cleaned face
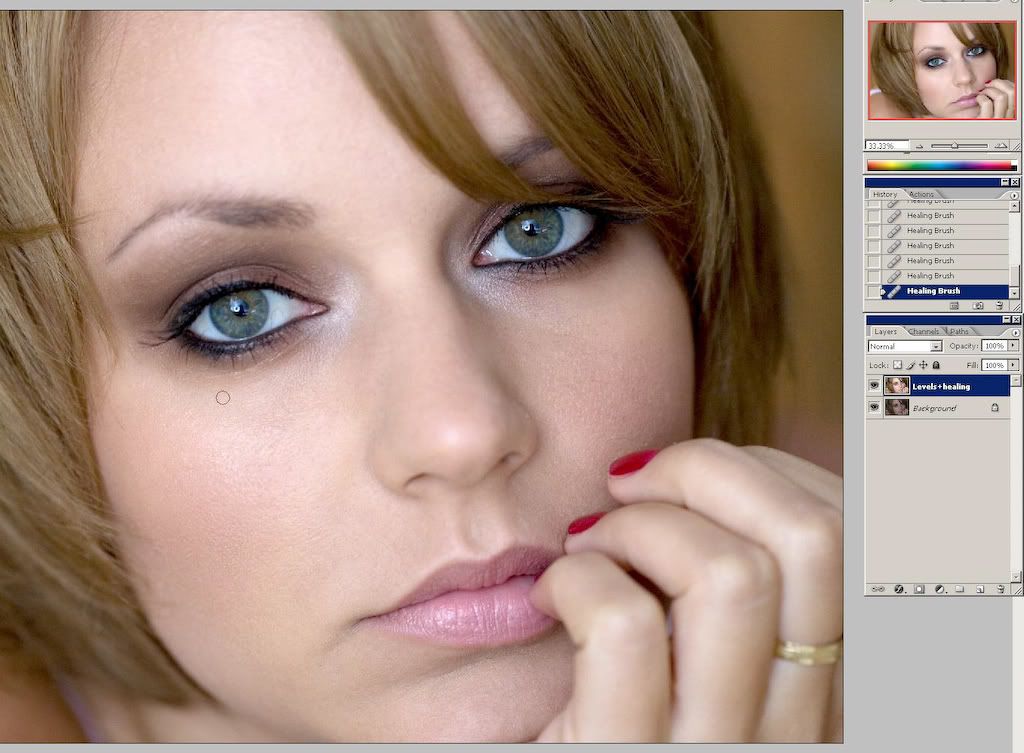
3. The following thing to do is fine retouching the skin. I do that on the layer that I name "high pass". Here`s the procedure:
a) duplicate layer ( we here duplicate the roughly cleaned layer).
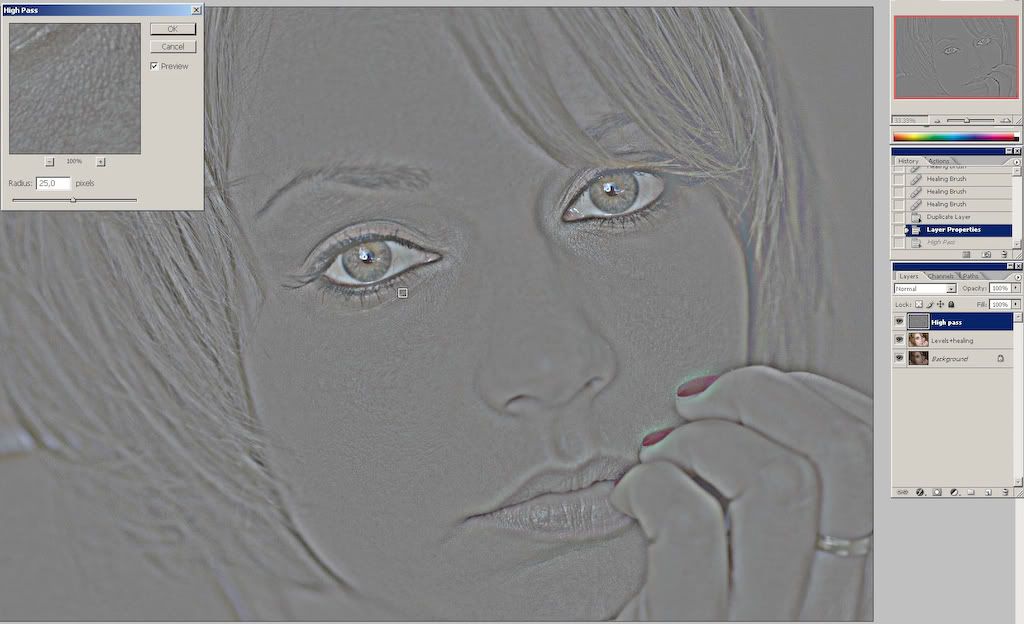
b) Than I add the high pass filter: filter -> other -> high pass
Here I set the value around 25. It`s up to you, which settings you choose, but is`s the best if the details on image are still clearly visible.
adding the high pass filter
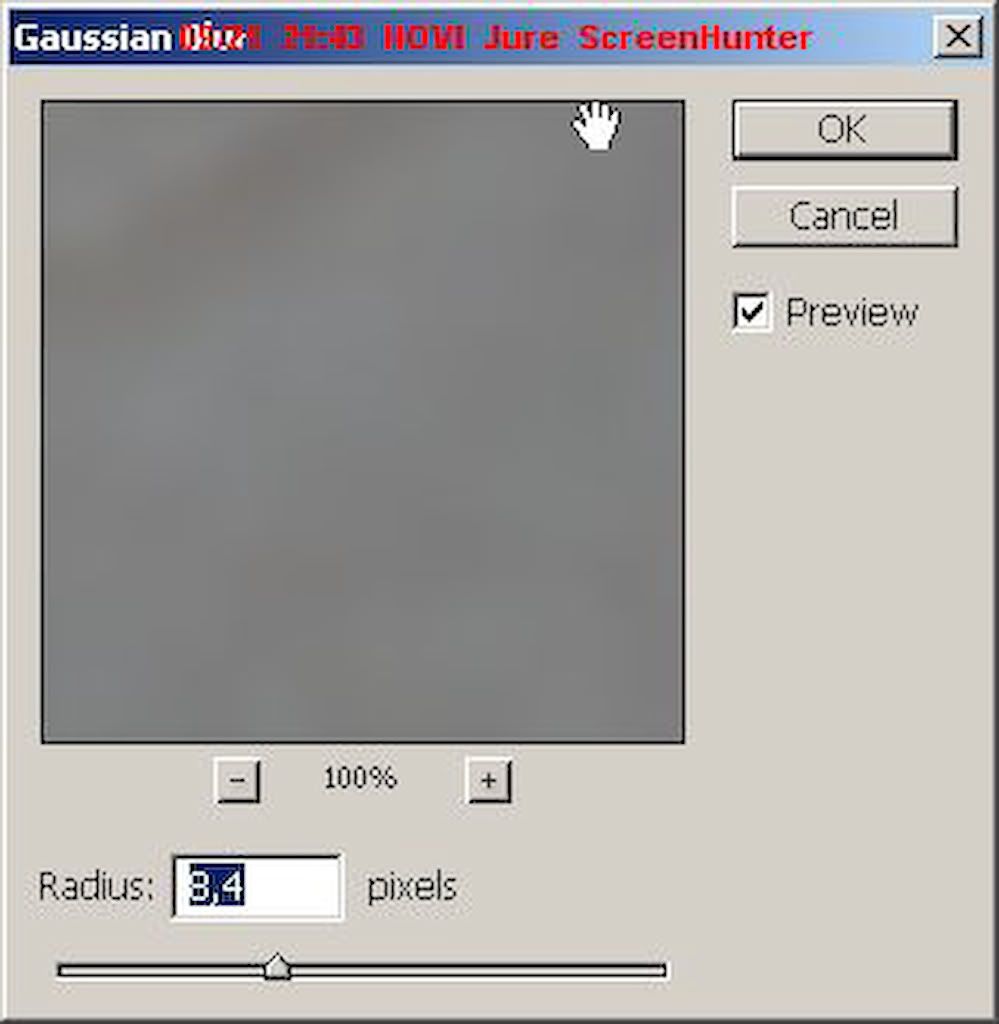
 c) Than I add gaussian blur filter to that same layer: filter -> blur -> gaussian blur
The settings on this one should be 1/3 of amount of high pass filter. In my case around 8.
Gaussian blur
 d) I than invert the layer (alt +I; or image -> adjustments -> invert)
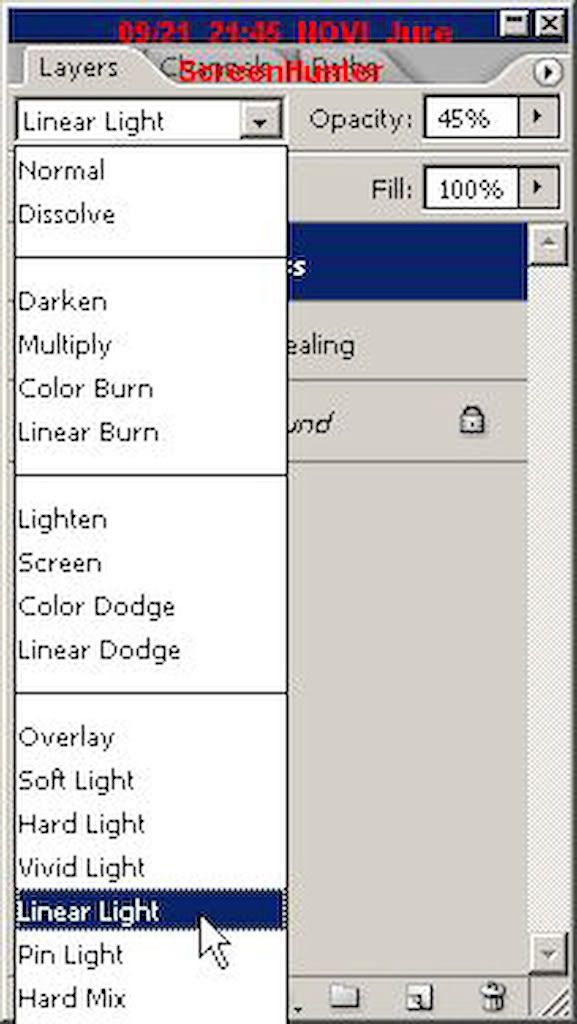
e) I set the opacity of the layer to 40-50 % and change the blending mode to "linear light". You can play with blending modes here. "Soft light" or "overlay" modes with 100% opacity can also give nice results.
nastavitve layer-ja
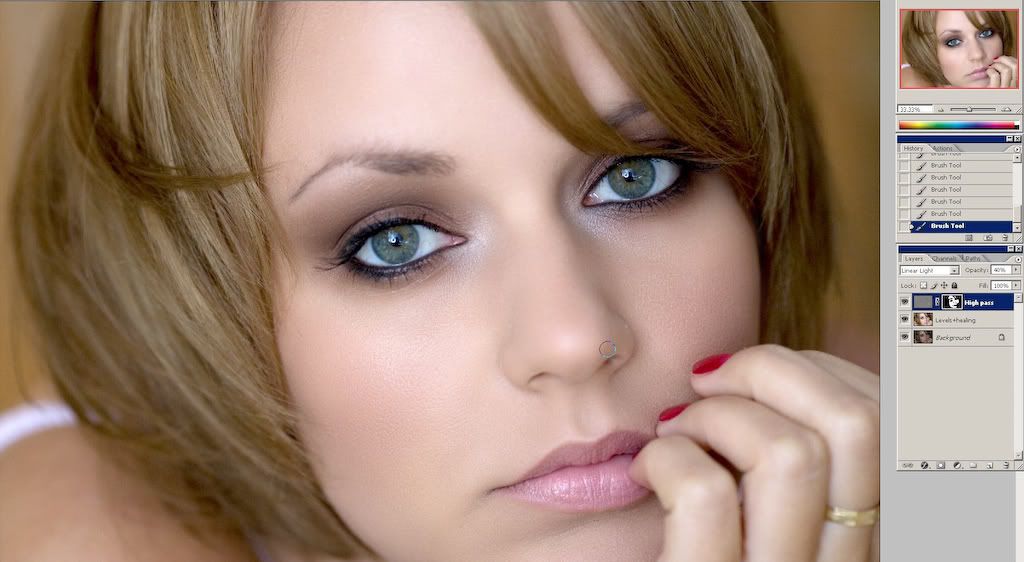
 f) Than I add black mask to the layer: layer -> layer mask -> hide all
e) Now the image looks like before, but if I take white soft brush with opacity around 20, I can paint on the parts of the face that I want to look smooth. More strokes that I make on one spot, the more soft the skin is on that part of the skin. If I think I overdid it, I change the color of the brush and paint the overdone part over.
fine retouching
I love this technique because it makes a nice smooth skin and it leaves a lot of detail on the skin. It also evens the skin tones nicely and removes hard shadows.
4. The eyes. I retouch the white part and the iris separately. I use dodge tool and clone stamp for the white part. Dodge tool settings: 5% exposure in midtones range.
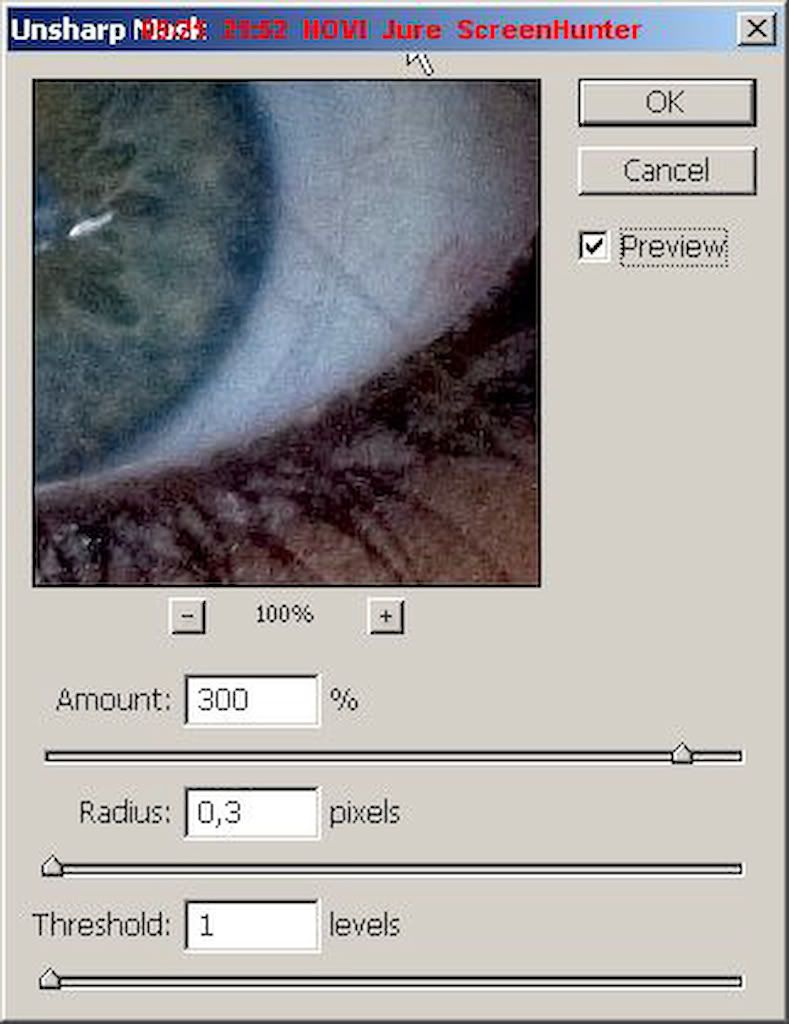
I sharpen iris with unsharp mask filter with settings as seen on below photo. Thats on a pretty large file size, around 11 Mpix.
USM on iris
 I also use "shadow/highlights", "hue/saturation" and "brightness/contrast" tools on iris. It depends on what you like.
Comparison between original and retouched eyes:
retouched

untouched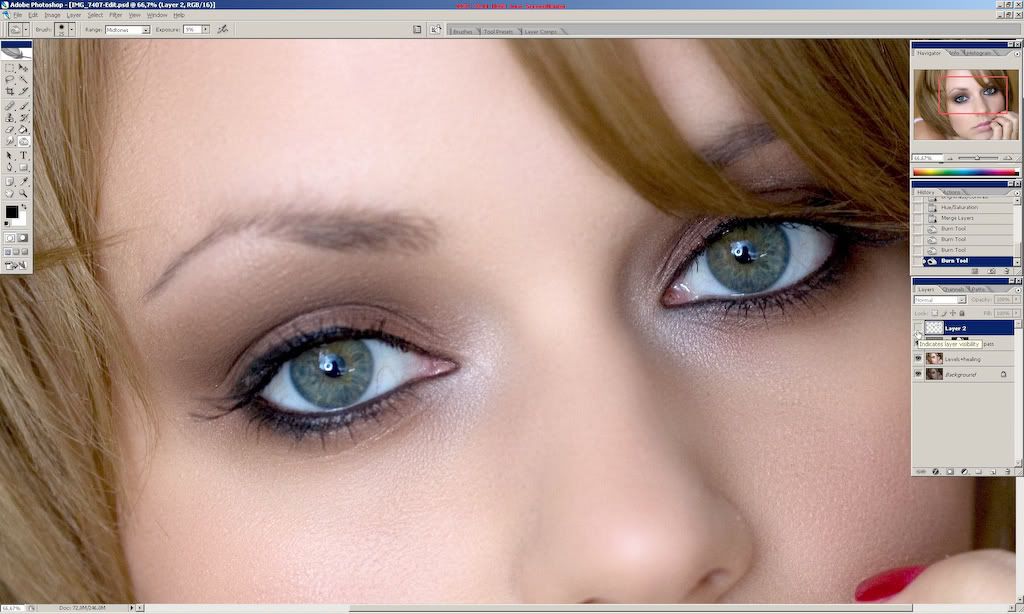
5. I make a few strokes with burn tool on eyelids and eyebrows to make them stand out more.6. I play with shadows at the end. I check if there is a shadow that stands out too much and fix it with dodge tool.
7. I save the final image two times. The first time in original size and the second time I resize it to 800 px on longer side. I upload the smaller one on photobucket account so I can share it in various forums and galleries.
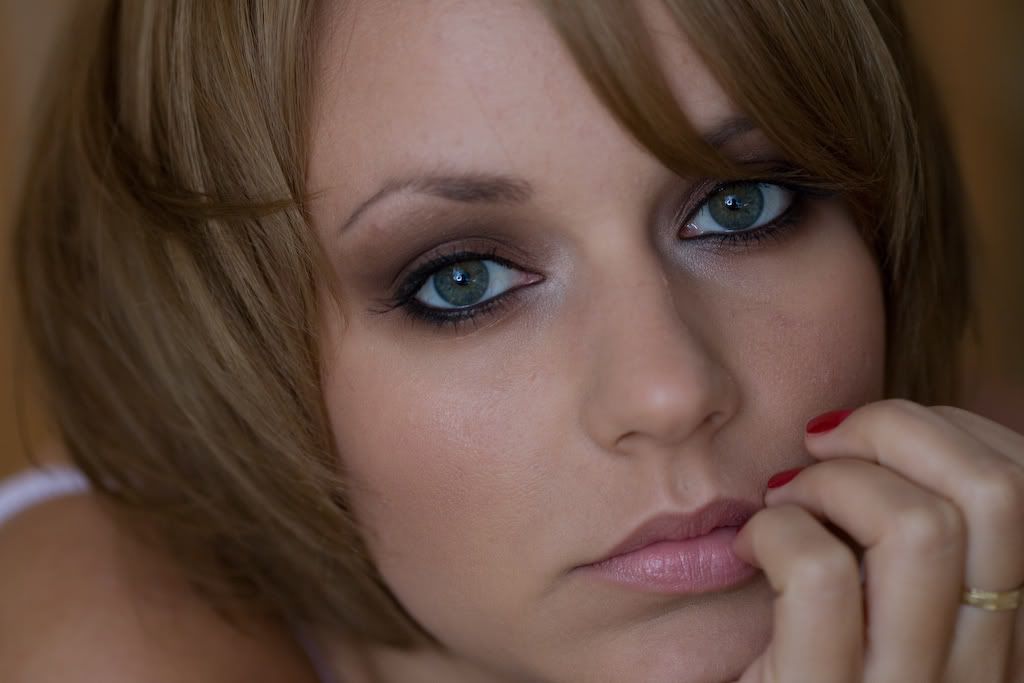
Comparison of original and retouched photos:
original
retouched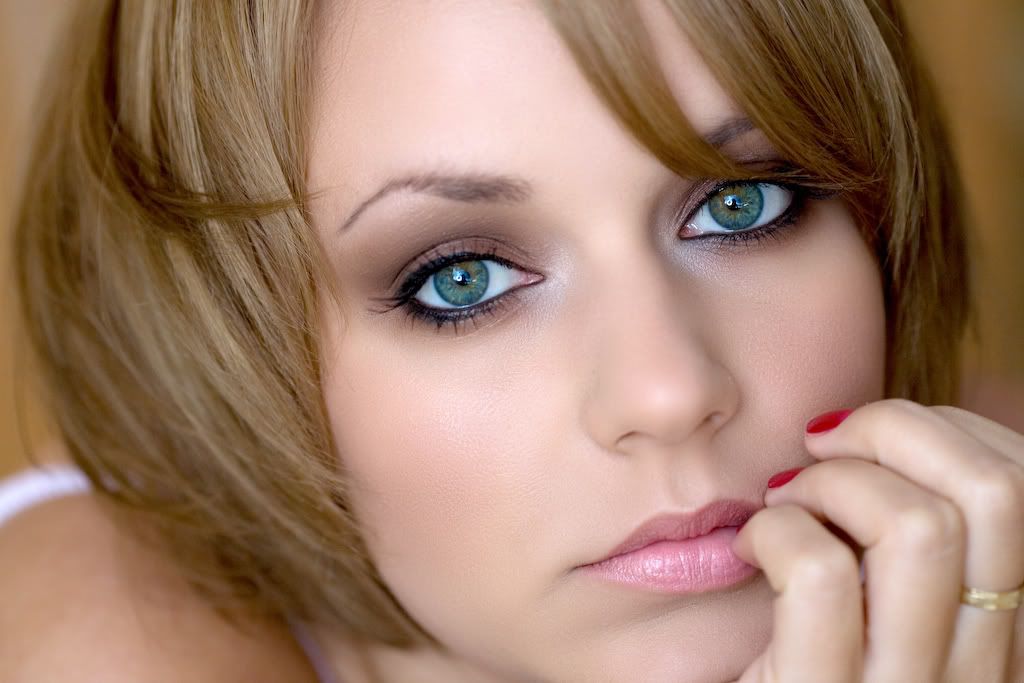
That`s my workflow...I take a lot more time to retouch a single photo than this time, that was just to show you the basics. Now start retouching and show me your results!!!Have fun and goodbye,
Jure
4 comments:
This was very helpful!! Thanks!!
jure,
hvala lepa za tvoj tutorial :My workflow!!
lepe pozdrave marco
This is great! ill have to give it a shot
I'm on it.... as soon as i do one i'll send ya the link
B. Free,
Post a Comment